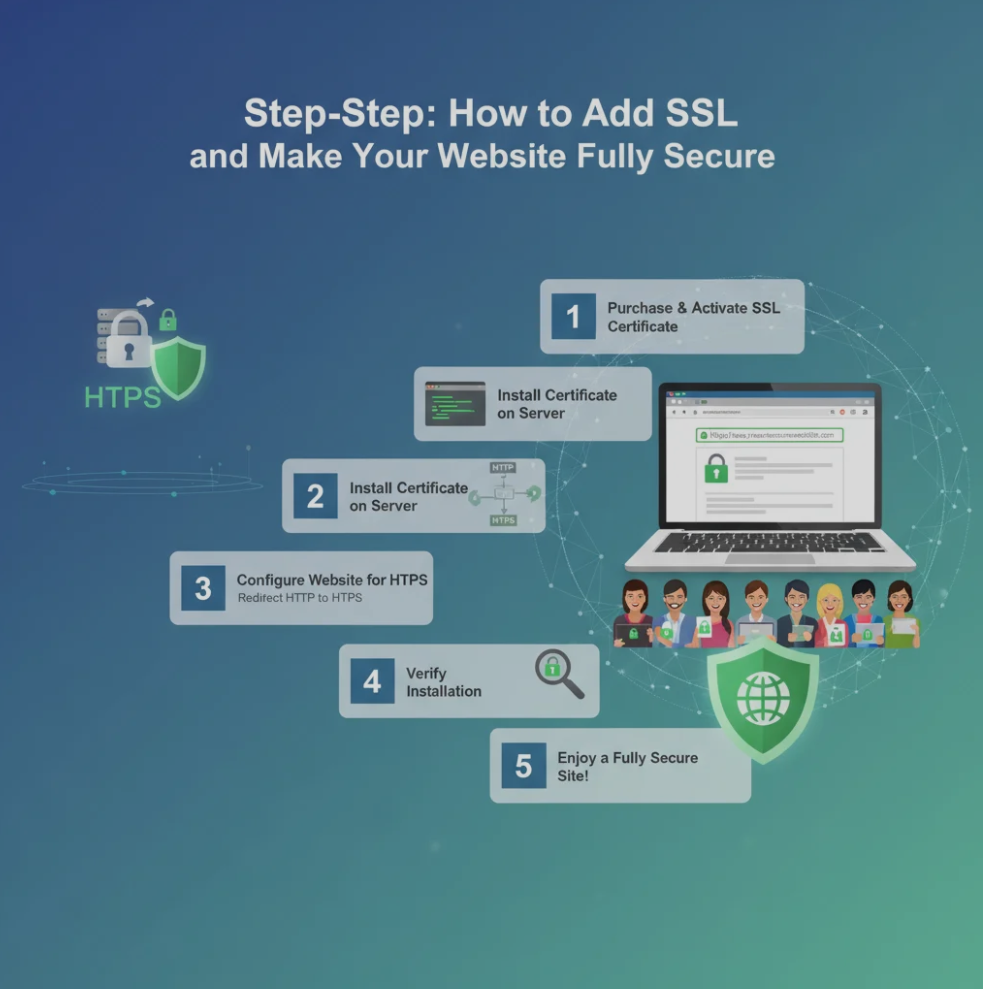
Before diving into how to add SSL, it’s important to understand why it’s essential.
SSL (Secure Sockets Layer) encrypts the data exchanged between your website and visitors.
It keeps sensitive information safe — from passwords to payment details — and helps build trust with your audience.
Plus, Google ranks secure sites higher, so adding SSL also boosts your SEO performance.
🧭 Step 1: Choose the Right SSL Certificate
There are several types of SSL certificates to fit different needs:
- Domain Validated (DV): Best for blogs or personal sites.
- Organization Validated (OV): Great for business websites that need credibility.
- Extended Validation (EV): Shows your company name in the address bar — ideal for e-commerce or financial sites.
When deciding how to add SSL, start by picking the certificate that suits your website’s purpose.
🧩 Step 2: Get SSL from Your Hosting Provider or CA
Most web hosts offer free SSL certificates through Let’s Encrypt or built-in tools in your control panel.
Alternatively, you can purchase one from a Certificate Authority (CA) like DigiCert, GlobalSign, or Comodo.
Once obtained, you’ll need to install the certificate on your hosting server.
If you use cPanel or Plesk, installation usually takes just a few clicks.
⚙️ Step 3: Install and Activate SSL
Here’s a quick guide for common hosting setups:
- cPanel: Go to “Security” → “SSL/TLS” → “Install an SSL Certificate.”
- WordPress: Use plugins like Really Simple SSL to automatically detect and enable HTTPS.
- Custom Servers: Upload your certificate files to your web server configuration directory.
Once installed, test your website using https://www.ssllabs.com/ssltest to confirm your SSL is working correctly.
🔁 Step 4: Redirect All Traffic to HTTPS
After activation, make sure all visitors are directed to the secure version of your website.
You can do this by adding a 301 redirect in your .htaccess file:
RewriteEngine On
RewriteCond %{HTTPS} !=on
RewriteRule ^ https://%{HTTP_HOST}%{REQUEST_URI} [L,R=301]
This ensures every visitor automatically uses HTTPS — a vital step in how to add SSL effectively.
🧼 Step 5: Fix Mixed Content Warnings
If your page loads images, scripts, or styles from old HTTP links, browsers may flag them as insecure.
Update all internal links to HTTPS or use tools like Why No Padlock? to locate insecure elements.
Mixed content errors are common but easy to fix — and essential for achieving full SSL security.
🧠 Step 6: Test and Monitor Regularly
Security doesn’t end after installation.
Use online tools or your hosting dashboard to monitor your certificate’s expiration date.
Set reminders to renew SSL certificates before they expire to avoid browser warnings and downtime.
🌐 Step 7: Enjoy a Fully Secure Website
After completing these steps, your site will display the padlock icon in the browser — a clear sign of trust.
You’ve now successfully learned how to add SSL and ensure your website is safe, reliable, and professional.
Your visitors will enjoy peace of mind, and your search rankings will thank you for it.
🏁 Conclusion: Security That Builds Trust and Success
Adding SSL is one of the simplest yet most powerful ways to protect your website and visitors.
It enhances privacy, improves SEO, and builds brand credibility.
Now that you know how to add SSL, you can create a safer online space — one secure connection at a time.


